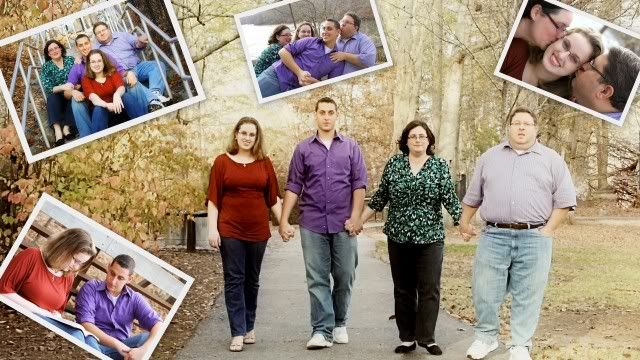
Want to make a desktop collage to run as your computer wallpaper, but don't know how?
Recently, I received a newsletter from Scrap Girls which gave simple step-by-step instructions to making a desktop collage.
I used photos from a family photo shoot and compiled this collage. Nothing fancy, nothing hard to do.
Just an opportunity to give this family something beautiful to look at every time they sit down at their computer.
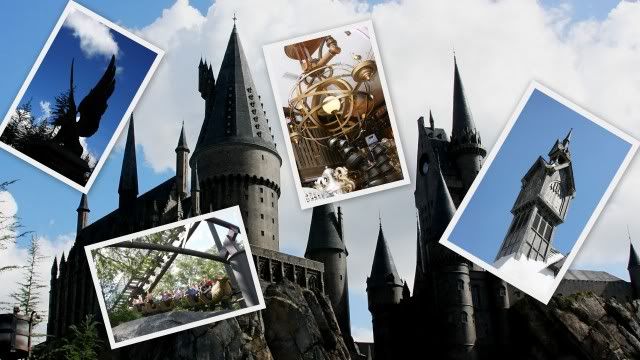
For myself, I used photos I had taken at the Wizarding World of Harry Potter in Orlando.
To make your own desktop collage, check out Scrap Girls here: http://www.scrapgirls.com/NL/SG_News_120202_Thu_Collage.html
You need to scroll about halfway down into the article. Scrap Girls sends out a daily email, if you are interested,
with digital scrapbooking tips, examples, instructions, and they even have a store.
Have fun making your desktop collage!
Sunday, February 26, 2012
Easy-to-Make Desktop Collage
Posted by Alice at 11:54 AM 0 comments
Labels: art, family, harry potter, portraits, tutorial
Wednesday, November 16, 2011
Pet Edit
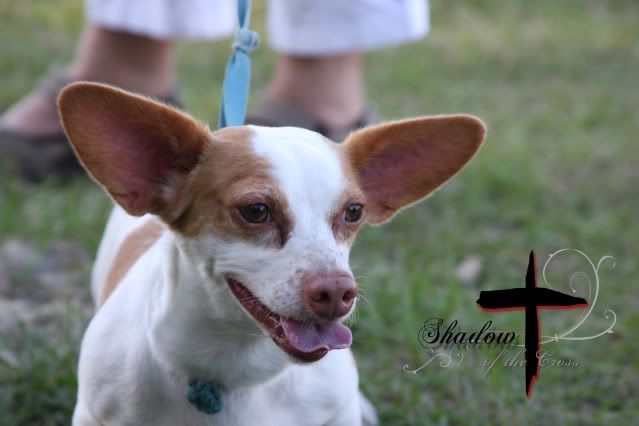
Original photo. I took this picture a couple days ago during a hands-on portion of a class I taught on pet photography. I've been working with a group of wonderful homeschool students this fall. We've been studying the basics of photography. On this particular Monday we studied pets and animals in general. Several of the students brought pets to be our models. This sweet little puppy belongs to one of the students.
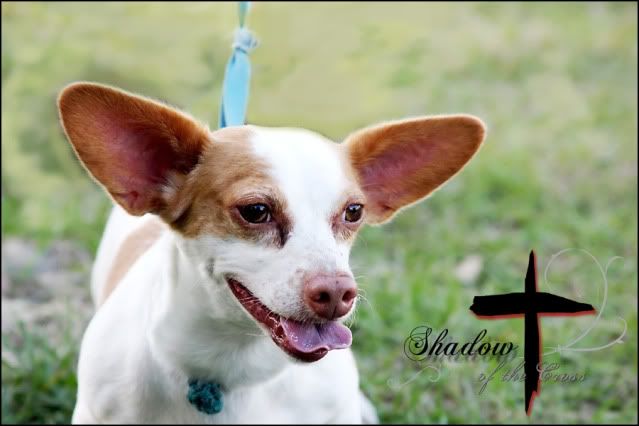
All the students know to watch for background distractions, but due to the circumstances of our shoot, some distractions were necessary. I used photoshop for my edits. I brightened, I sharpened, and I used brushes to take out the owner's legs and shoes in the background. This is a relatively new technique that I am trying to perfect and I am happy with the way it really makes the animal stand out. What do you think?
Posted by Alice at 11:02 AM 2 comments
Friday, September 9, 2011
Asian Gardens Tutorial

I may have mentioned how much I love the Asian Gardens at the Lowry Park Zoo.
The gardens are superbly landscaped. They have these incredible statues everywhere.
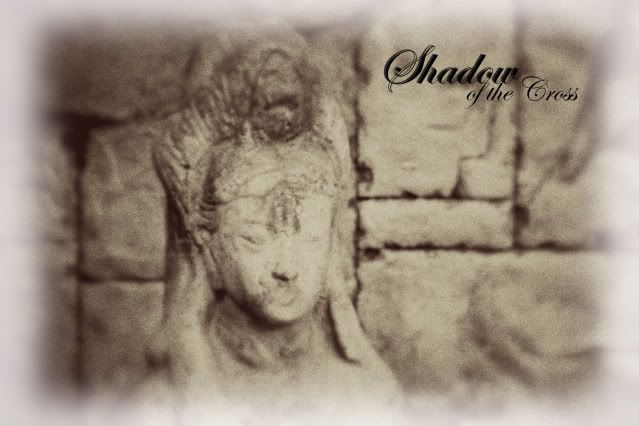
I really like the way they look and appreciate the atmosphere they bring to the gardens,
but I really thought the photos should look more 'ancient', so to speak.
So, I played around with editing and came up with these.
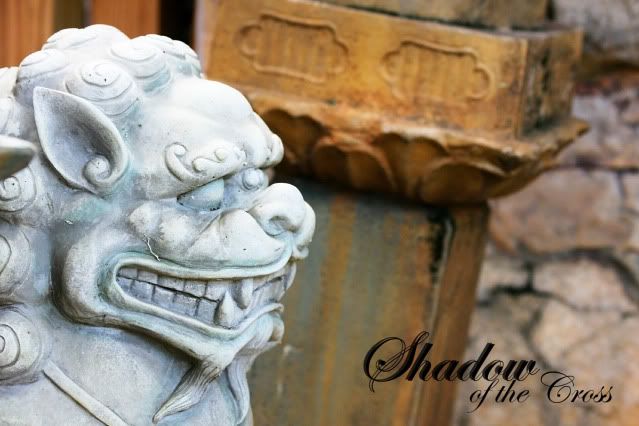
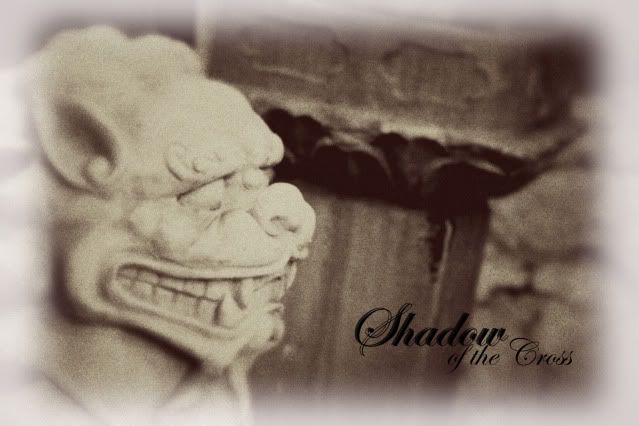
I always edit in photoshop, results as seen in the first photo. Then, I ran the Pioneer Woman's Action Set #2
Heartland action, followed by MCPActions' Frosted Memories - Faded Edges, Low Res action. These are the results.
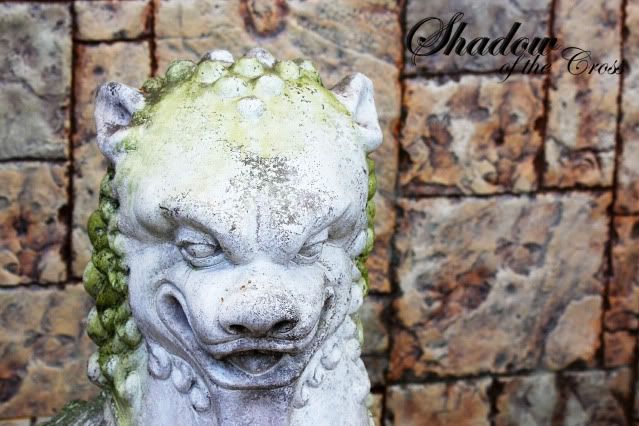
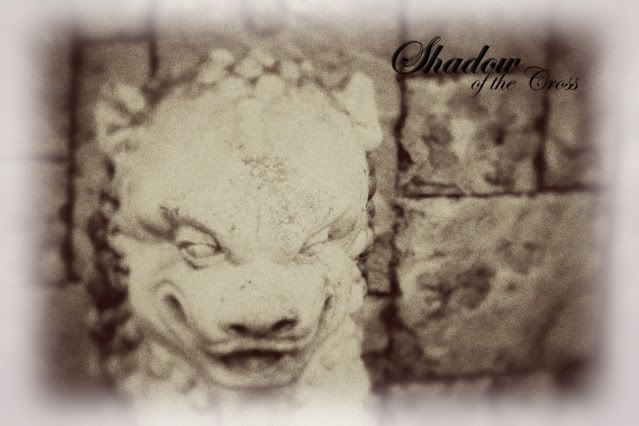
I really love the way these turned out!


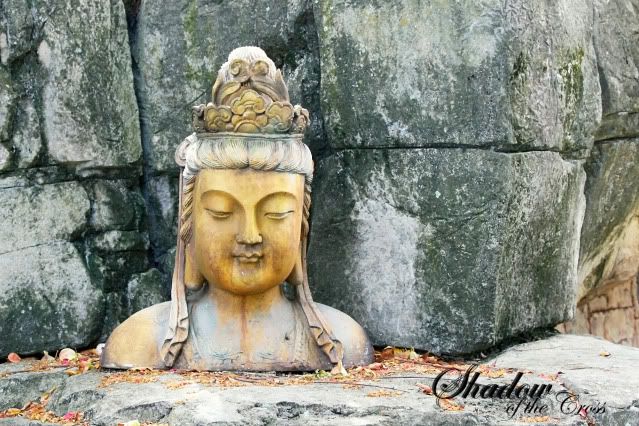
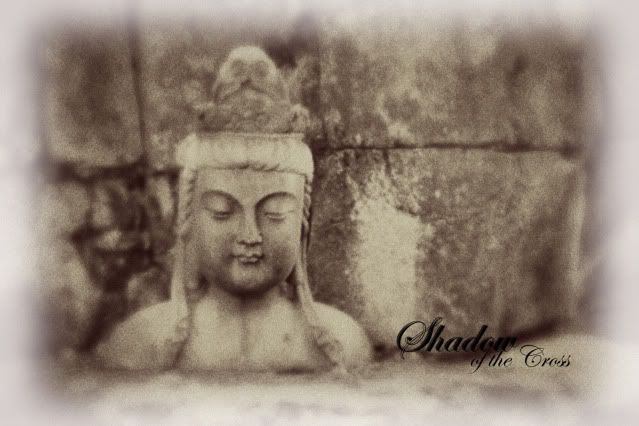
I think the statues look ancient. Like something you'd see in a history book!
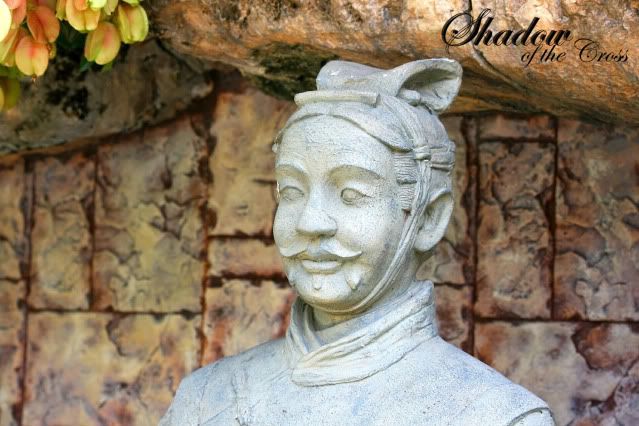

That is totally the look I was going for. Super easy!
Posted by Alice at 11:39 PM 1 comments
Labels: historical, landscape, rustic, tutorial, zoo
Monday, August 15, 2011
A Different Take
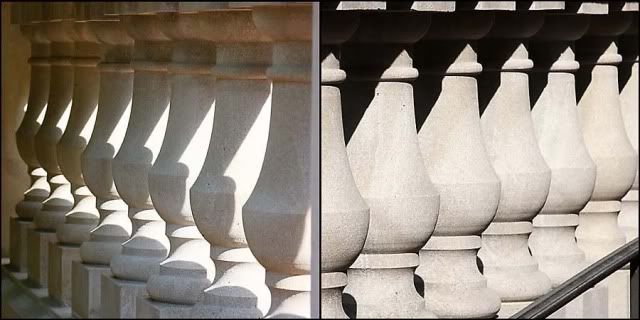
Not long ago, I had the opportunity to spend some time at Regent University in Virginia. On one of the porches I noticed these amazing columns. I shot straight down the line, once in front, and once on the back side. I didn't expect to do anything special with the photos, I just liked the way the lines looked.
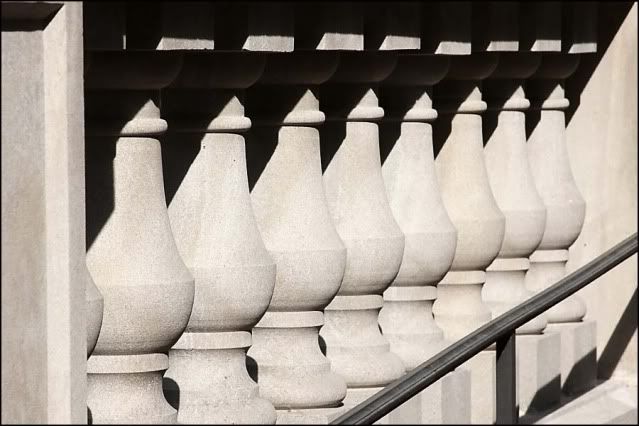
This was the front side, facing the building.
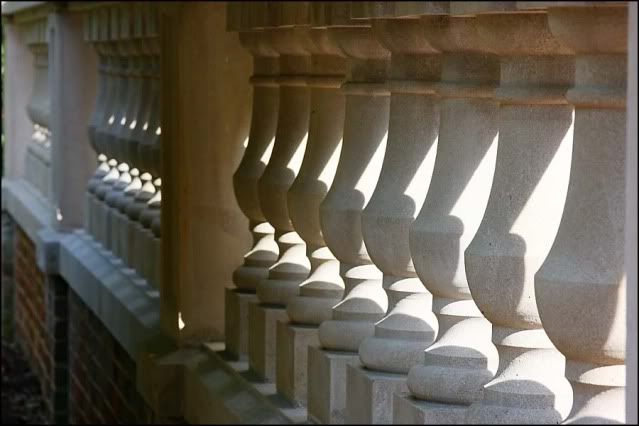
This was the back side, facing the courtyard.

I went in to photoshop and worked with the sizing a little bit and was able to position the two photos together in a side-by-side collage. There is just one set of columns, framing the edge of the porch. I just shot it from two different perspectives. I thought it turned out pretty cool.
Posted by Alice at 5:39 PM 1 comments
Labels: tutorial
Wednesday, February 9, 2011
Salvaging a Bad Photo
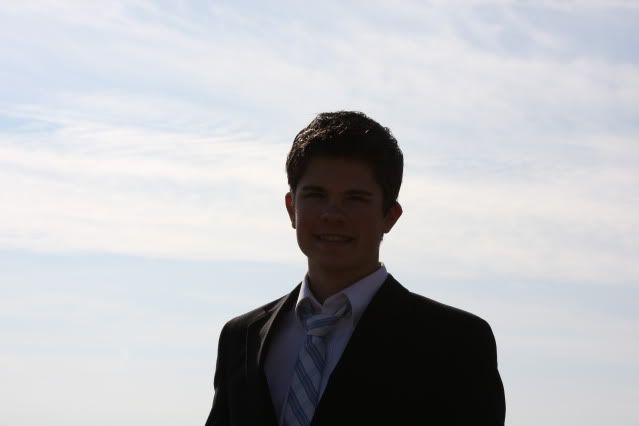
Above is a photo I took on a day when the sun was really bright, reflecting off the snow. It pretty much rendered this photo unusable. In photoshop, I have several actions I could run to improve the photo, but even when I did that, I didn't get the quality I wanted. So, I decided to play with it and salvage a cool picture in a different way.

In photoshop, I boosted the contrast all the way up, then took the brightness up a small amount. What I got was a mostly white background with an awesome silhouette of this young man. I really like the way you can see the white line of his shirt collar.
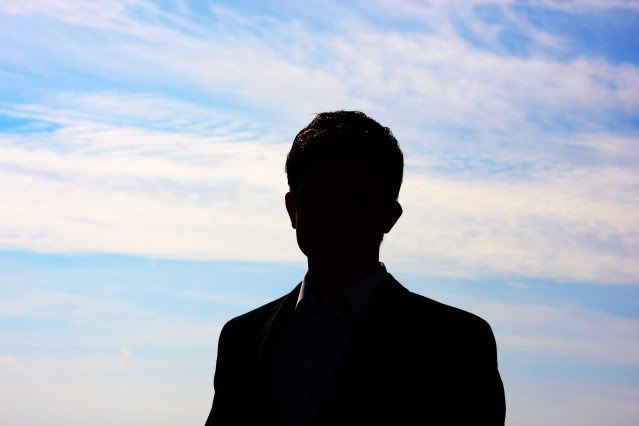
Then I took that photo,ran the saturation up all the way and sharpened the picture. That really brought the edges of the silhouette into focus.

Lastly, I ran the Burnt Edges I action from mcpactions.com, the low res step, which resulted in this last photo. This popped some color in a framework around the photo and salvaged my bad photo.
Posted by Alice at 11:20 PM 0 comments
Saturday, July 10, 2010
Photoshop Step-By-Step - Vintage

Thsi is my original photo of Kali and Rascal. I wanted to make it more vintage looking, more rustic, more old-timey. So I opened it in Photoshop.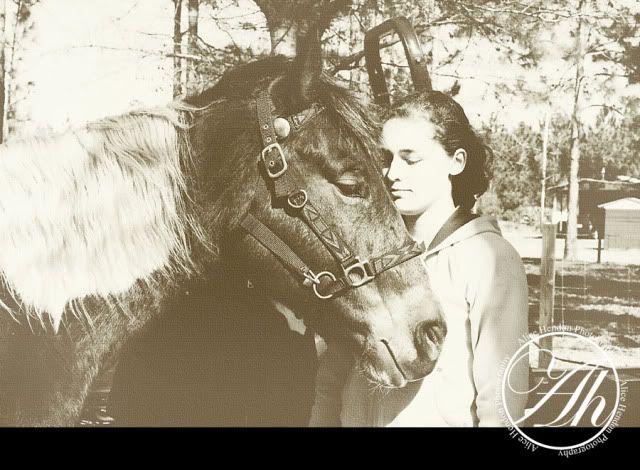
Now it has the feel of "oldness" to it. To get this look, I used a program I purchased from mcpactions.com - you can visit Jodi's site and check out all her editing programs here. Here are the steps I used:
- open Frosted Memories;
- run the Old Red Barn action;
- run the Gold Locket action;
- run Golden Sunset action;
- run the Next Picasso action;
- lastly, run the Faded Edges - High action.
And this is your completed look. You can also find free actions online. Don't be afraid to play around with them and see what results you end up with. You can always delete and start over, or you might like the results and end up with a wonderful save :).
Posted by Alice at 3:10 PM 2 comments


